
Chemical anchors are essential for securely fastening structures to concrete, brick, or stone surfaces. However, over time or due to changing needs, there may be a requirement to remove and replace these anchors. Properly doing so without damaging the structure or compromising safety is crucial. This guide will walk you through the safe steps for removing and replacing chemical anchors while ensuring long-term reliability.
1. Understanding When to Remove Chemical Anchors
- Wear and Tear: Chemical anchors may need replacement after prolonged exposure to harsh environments, including water, chemicals, and extreme temperatures.
- Structural Adjustments: During construction upgrades or structural modifications, repositioning the anchors might be required.
- Failure or Damage: If an anchor has failed, become loose, or was improperly installed, it must be safely removed and replaced.
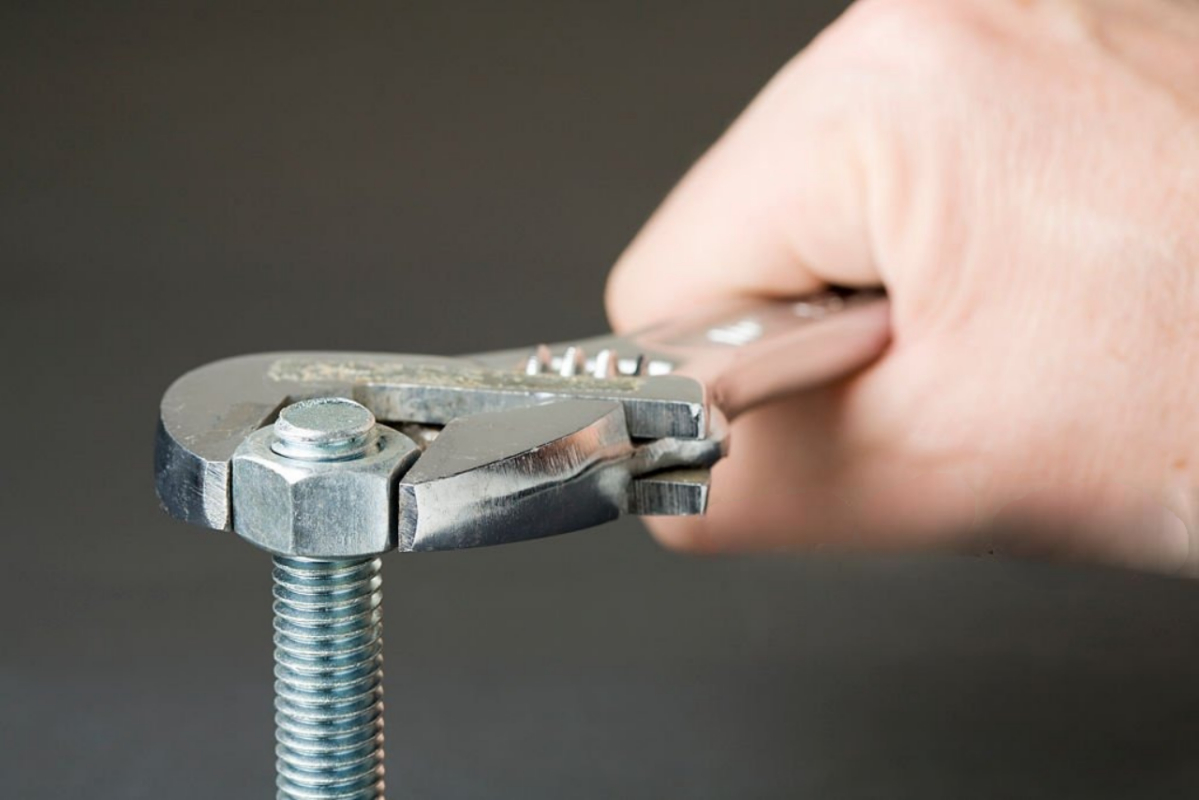
2. Tools and Materials Required
- Hammer drill
- Carbide-tipped masonry bit
- Chemical anchor removal tool (e.g., anchor pullers or rotary hammer)
- Blow-out pump or compressed air
- Replacement chemical anchor kit (with appropriate epoxy or adhesive)
- Wire brush (for hole cleaning)
- Personal Protective Equipment (PPE): gloves, safety goggles, dust mask
3. Safety Precautions Before Removal
- Inspect the Area: Ensure that removing the anchor won’t compromise the structure or attached elements. For heavily loaded anchors, consult a structural engineer.
- Protect the Surrounding Area: Clear the space to prevent debris from damaging nearby components.
- Wear PPE: Always wear protective gear to safeguard against flying debris and dust during removal.
4. Steps to Safely Remove Chemical Anchors
Step 1: Loosen the Anchor
- Locate the Anchor: Ensure you know the exact position and size of the chemical anchor.
- Use a Rotary Hammer: Attach a suitable bit or removal tool to a rotary hammer. Apply steady force to loosen the chemical bond between the anchor and the substrate. Do not apply excessive force to avoid damaging the surrounding concrete.
Step 2: Extract the Anchor
- Once loosened, use an anchor puller to gently remove the anchor. If the anchor resists removal, reapply the rotary hammer, focusing on breaking the bond between the adhesive and the concrete.
Step 3: Clean the Hole
- Blow Out Debris: After the anchor is removed, use a blow-out pump or compressed air to clear dust and debris from the hole.
- Brush the Hole: Use a wire brush to clean the sides of the hole thoroughly. This ensures that any residual adhesive or dust is removed, providing a clean surface for the replacement anchor.
5. Steps to Replace the Chemical Anchor
Step 1: Inspect and Prepare the Hole
- Inspect for Cracks: Before replacing the anchor, inspect the hole for any cracks or damage caused during the removal process. If the hole is compromised, consider drilling a new hole or using a different anchor solution.
- Resizing: If the hole is damaged or too large for the replacement anchor, you may need to resize or re-drill the hole.
Step 2: Apply New Adhesive
- Choose the Correct Adhesive: Use a high-performance epoxy or adhesive suited for the application and environmental conditions.
- Inject Adhesive: Insert the adhesive nozzle into the cleaned hole and dispense the required amount of chemical adhesive. Ensure the adhesive fills the hole completely, leaving no gaps.
Step 3: Install the New Anchor
- Insert the Anchor: Immediately insert the replacement anchor rod into the adhesive-filled hole. Rotate the anchor slightly to ensure uniform adhesive distribution.
- Secure Positioning: Ensure the anchor is properly aligned with the required load direction and depth specifications.
- Curing Time: Allow the adhesive to fully cure based on the manufacturer’s recommendations. Do not apply any load to the anchor until the curing process is complete.
6. Post-Installation Checks
- Inspect the New Anchor: Once the curing process is complete, check that the anchor is securely set in place.
- Load Testing: For critical applications, conduct a load test to ensure the anchor can handle the specified loads.
- Monitor for Environmental Factors: If the anchor is in an environment with extreme temperatures, moisture, or chemical exposure, periodically inspect the anchor for signs of wear or degradation.
7. Best Practices for Chemical Anchor Replacement
- Use Compatible Products: Always use adhesives and anchors that are compatible with the substrate material and environmental conditions.
- Ensure Proper Installation: Improper anchor installation can compromise the load-bearing capacity, so follow manufacturer guidelines strictly.
- Regular Maintenance: In high-stress environments, regular inspection of chemical anchors is essential to ensure ongoing structural integrity.
8. Conclusion
Safely removing and replacing chemical anchors is a critical task that must be performed carefully to maintain structural integrity. By following the above steps and using the right tools and adhesives, you can ensure a secure, long-lasting anchor installation. Whether dealing with deteriorating anchors or upgrading structures, attention to detail and adherence to safety protocols are key.